What is Rivet Shelving?
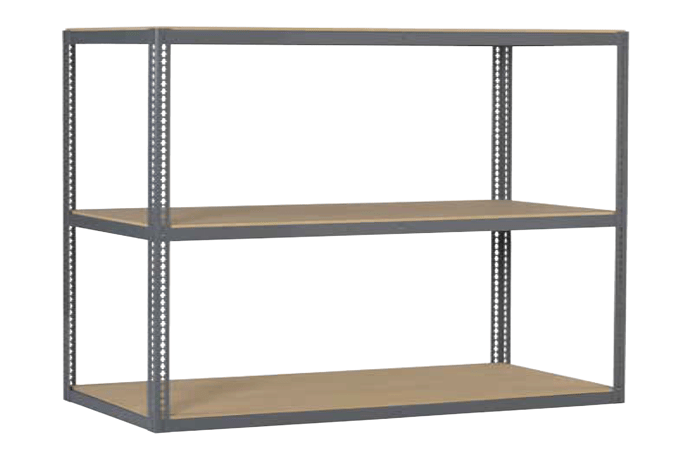
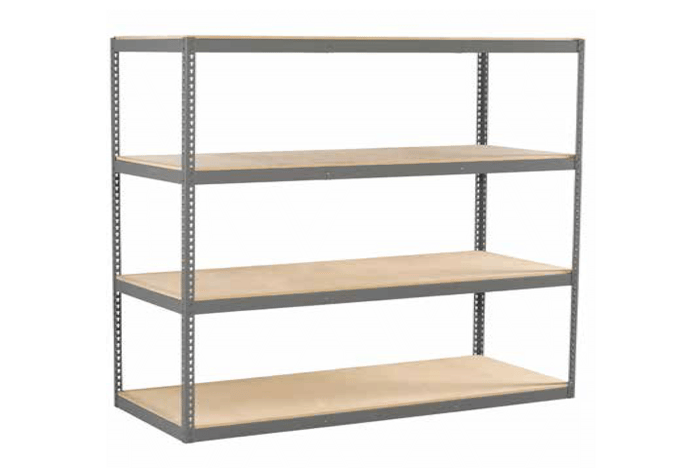
Rivet shelving, also referred to as boltless shelving, is one of the most versatile types of industrial shelving. Its ease of installation and lower cost make it a popular choice. There are three pieces to a rivet shelving unit; uprights, support beams, and shelves, much like a traditional rack system. Similar to teardrop rack, rivet shelving utilizes teardrop holes on the uprights that are punched at regular intervals where the pins slide into the teardrop holes. When the pins are secured at the bottom of the teardrop holes, a very stable connection is made. This makes rivet shelving systems resistant to swaying and allows for reliable load capacity and stability.
Due to its teardrop punching design, rivet shelving is also quick and easy to assemble. Rivet shelving systems can be built piece-by-piece by combining your own components, or you can start off with a rivet shelving kit that comes with all the parts you need to create a starter bay which can then be expanded by implementing adder bays.
Rivet shelving is available in a variety of heights, widths, and depths, making it very versatile on top of being reliable and secure. Additionally, rivet shelving can be found in both single and double rivet configurations. Double rivet systems offer higher load capacities and stability at the expense of taking up more vertical space and increased costs versus single rivet systems. Regardless, rivet shelving is a great option for fast-access storage solutions that require medium to heavy loads when pallet racking is not an option. American Storage and Logistics carries rivet shelving made to carry up to 1,000 lbs per shelf.
How to Determine the Needs of your System
Coming up with a practical design for your rivet shelving system is an important process that will ensure that you have an efficient system that matches your business needs for years to come. The goal is to make sure that you can maximize your space and get the most out of your shelving system while improving the efficiency of your operation. This process requires some thought about your business operation, the space where the shelving will be installed, your products.
Layout
The first step is to determine the area where your shelving will be installed. If you need access from both sides and are looking to maximize your storage, organizing the shelves in rows and aisles is your best bet. Determine the length of each row, the width of the aisles, the space between each aisle, and the height of your ceiling. The aisle space depends on the size of your products and the equipment you use to access them. Also, consider how many people will need access to products at the same time and whether you need to leave extra space for that. Once you have the dimensions figured out, you can see which size shelving will fit your space. Keep in mind that the posts will add extra width to the measurement of the shelves.
Capacity
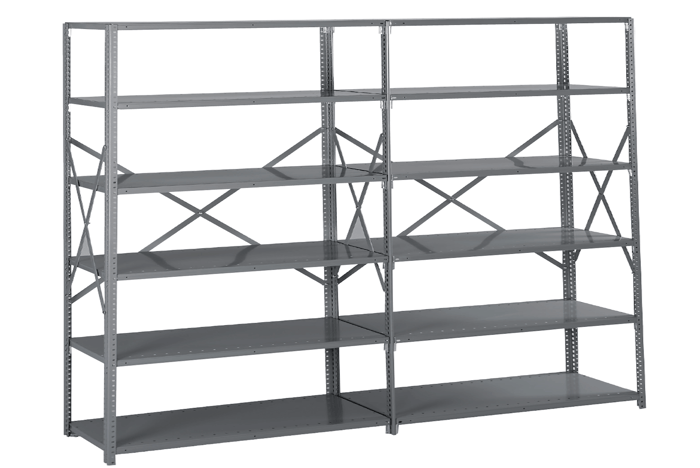
Consider the type of products your shelving system is going to hold. Rivet shelving comes in different sizes and load capacities. American Storage and Logistics carries low and medium profile, and steel box-formed shelf options to fit your needs. Box-formed shelving is a great option for those looking for tool-free, easy-to-assemble shelving that is also highly durable.
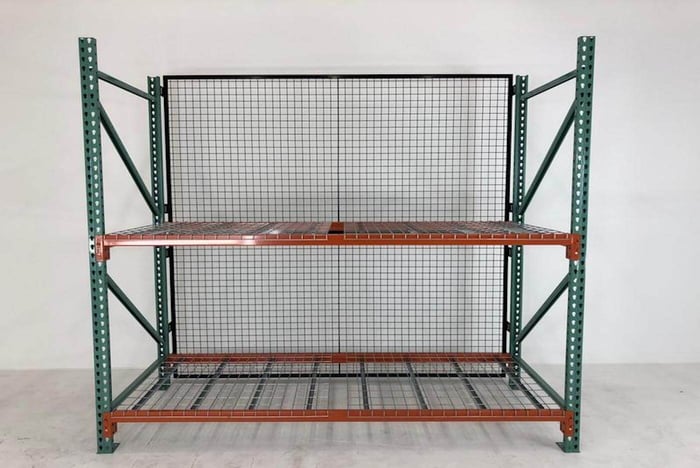
Particleboard decking is commonly used for rivet shelving but different decking options such as wire, solid steel, and perforated steel are also available.
Depending on the height of your products, the shelves can be adjusted in 1 ½” increments. Upright posts are also available up to 16’ for buildings will tall ceilings. Make sure to consider any obstructions in your space when ordering posts. If you will be storing products on top of your shelving unit, you will need to leave some space from the top of the unit to your ceiling.
A unique feature of rivet shelving is that it can be used as the structure of a mezzanine platform. In smaller spaces, rivet shelving can be used as a support structure to improve storage capability.
Another thing to consider is how many products will be loaded onto the shelves and if extra space will be needed to easily load and unload them.
Accessibility
Rivet shelving features an open design that is accessible from all sides. Depending on the business needs, you may install your shelving with all sides accessible to allow for easier loading and unloading of products.
Room for Growth
When designing your shelving system, always consider your future business needs. If you think that your storage needs may increase in the future, you may want to allow for space to add additional units. In order to be able to connect additional units to your starter unit, you will need to have built it with the type of uprights that allow for units to be joined together. Taking this step at the beginning will save you from having to disassemble your existing units in the future when adding additional shelving. For more information, view the section “How to Install your Rivet Shelving” below.
Installing your Rivet Shelving
Things To Know Before Starting
Shelving should only be installed by qualified, trained personnel who are experienced in industrial shelving assembly. Two people are recommended for assembly. Review manufacturer’s instructions and all of the diagrams before beginning the installation.
Always adhere your shelving units to the floor with anchors or bolts, and ensure that any adjoining units are secured together for increased stability.
Inspect all of your shelving units; uprights, beams, shelves, and anything else that comes with your systems for damage immediately. Do not proceed with the installation if any of the items appear damaged. Reference the packing list for the inventory of materials. Do not proceed with the installation if there are any missing items. Check your items for part numbers to double-check that all of the materials are there. If the part numbers do not match or if you notice missing parts, do not proceed with the installation.
How to Install your Rivet Shelving
Tools You Will Need:
-
A rubber mallet for seating the shelf supports into the uprights
Step 1: Depending on if you ordered a single unit or an adder unit, you may have one or both of the styles of upright shown below. A single unit will use SUR posts for all four uprights as seen in Figure A. If you are planning on adding units, build your starter unit with two ZTP posts on one end which will join with the adder as shown in Figure B.
Step 2: With the help of an associate, or using a wall for support, connect two SUR upright using two front-to-back supports, one at the top and one near the bottom (leaving the bottom-most keyhole slot empty). Make sure that the front-to-back supports are fully seated in the keyhole slots as shown. The inset is shown from the opposite side below. Be sure the narrow area of the keyhole slot on the upright is at the bottom as shown.
Step 3: Place a third front-to-back support in the middle slots of the two uprights (at the level you want your third shelf to be). This forms one end of the shelving unit. Repeat steps 2 and 3 to construct a second set of unit ends. If you are planning to install an additional unit, this send set of uprights should consist of ZTP uprights to act as an intermediate assembly.
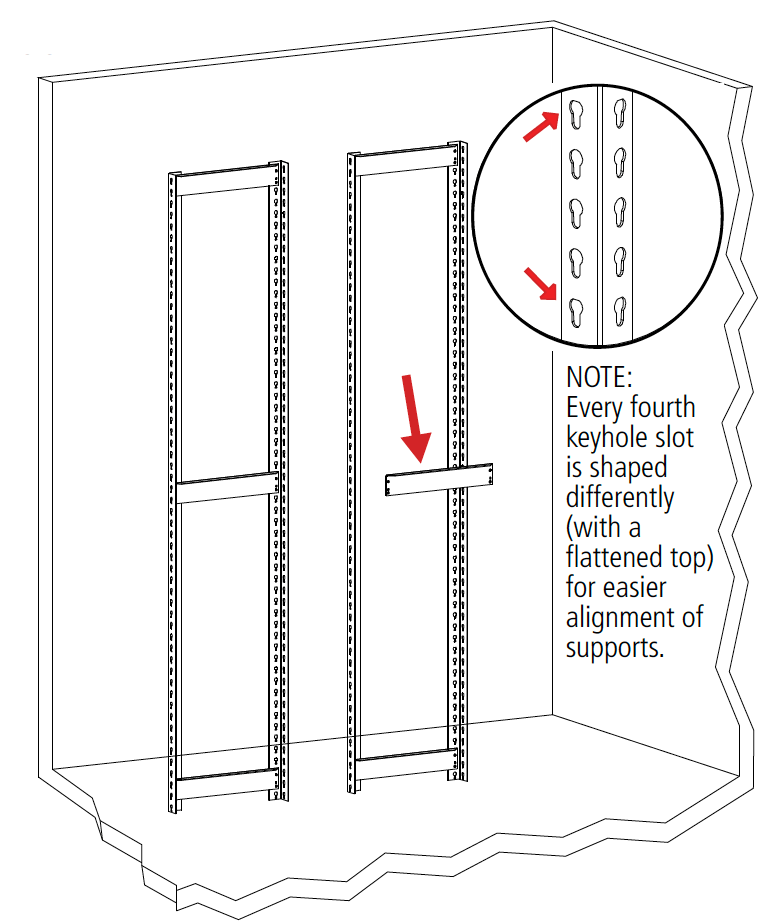
Step 4: With the help of an associate, connect the two unit ends with left-to-right channel beams. If the top flange on the front-to-back end support interferes with the top flange on the channel beam, your channel beam is upside down. The flange with the angled ends must be on top, as shown. Be sure that the channel beams are fully seated as illustrated in Step 2.
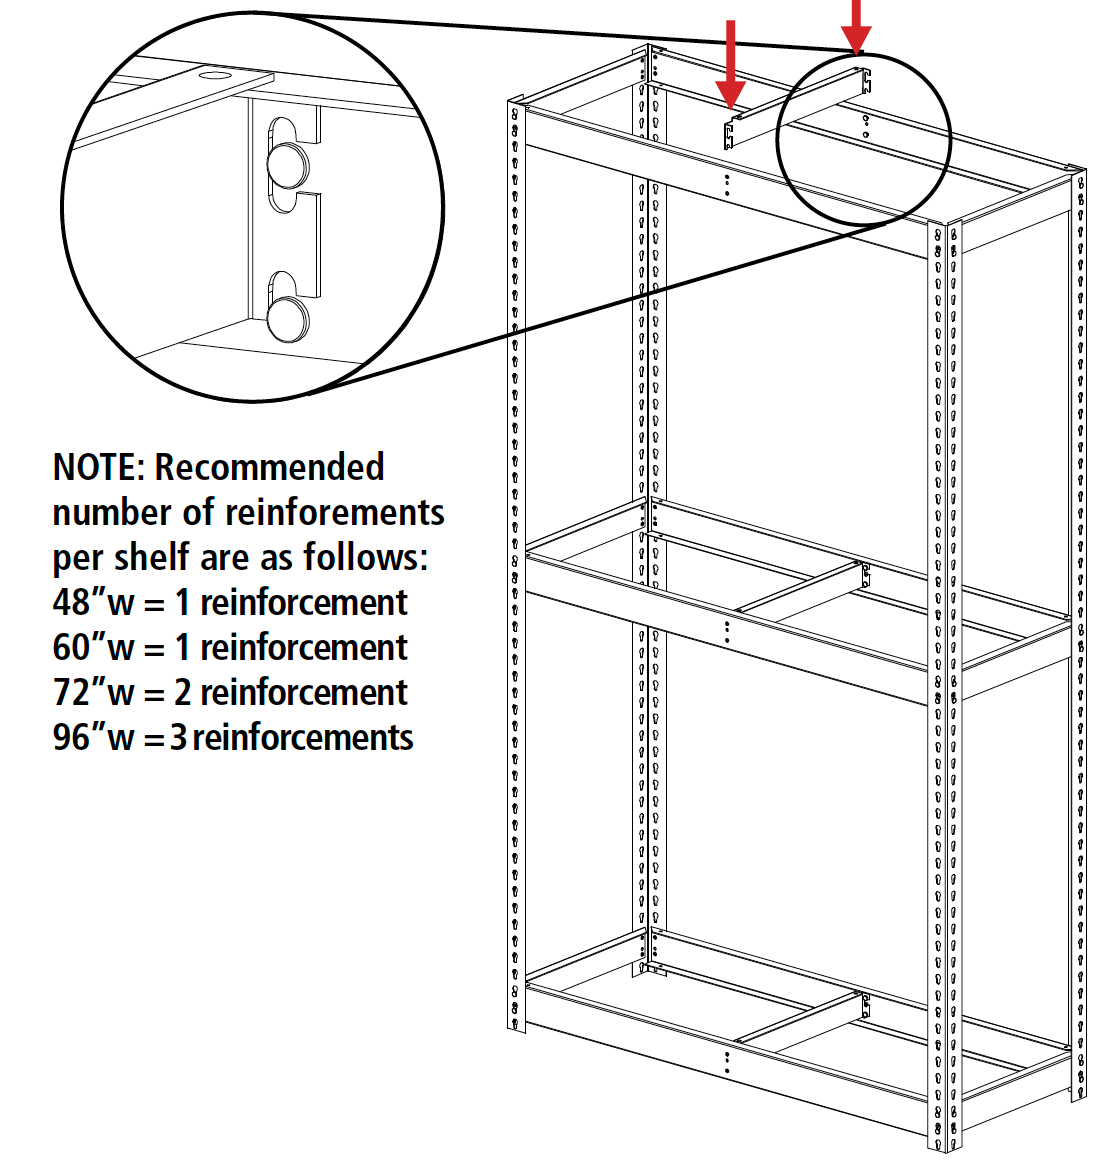
Step 5: Attach the remaining channel beams at the same levels you placed the end supports, making sure that all are completely seated in the upright slots. If you have purchased additional shelf levels, the shelf support for the extra levels may also be inserted at this time.
Step 6: Attach the shelf reinforcements at each level by sliding them onto the rivets until centered. Tap down on the reinforcements until they are seated firmly.
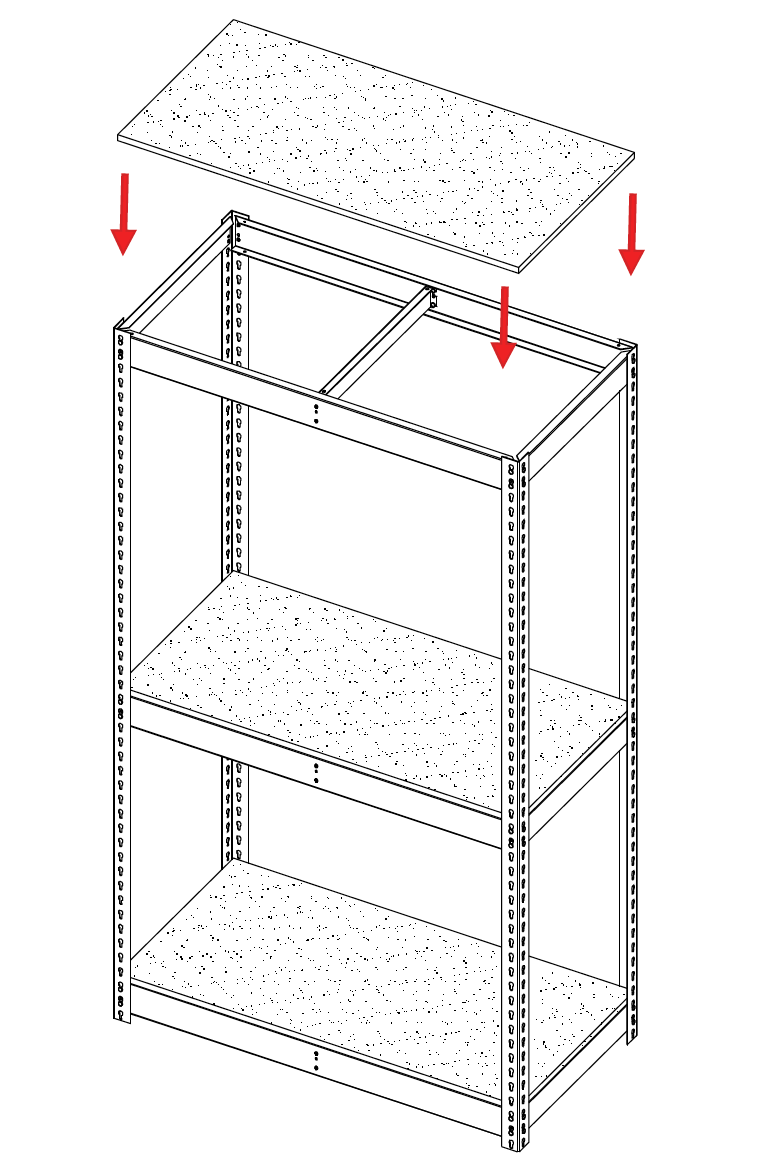
Step 7: If particleboard decking or wire decking was ordered, place the decking on each shelving level. The decking should fit flush inside the shelf supports. If you have purchased a single unit, your shelving unit is now complete. For adding units, see the next step.
Step 8: If joining more than one unit together, your original units should have been assembled with ZTP uprights on one end as described in Step 3. Simply continue adding shelf supports and uprights to complete your additional units.
Where To Buy Industrial Shelving Near You
At American Storage & Logistics, we carry all three major types of industrial shelving: clip shelving, rivet shelving, and wide-span shelving. We have fully built systems, kits, and individual components that will allow you to customize your storage solution to fit your needs. If you are in the mid-Michigan area near Grand Rapids, Lansing, Kalamazoo, or Battle Creek, you can purchase your industrial shelving products online and pick them up at our warehouse the same day, or get them delivered to your business as soon as tomorrow.
Explore our industrial shelving products that are available on our website or give us a call at 616-247-9800 to chat with one of our storage specialists and we can help you find the right system to fit your needs.

